Functional simulation of
the design
In the ‘Sources’ pane, select the module that you want to test. Then
click on ‘Create New Source’ in the ‘Processes’ pane. The ‘New Source Wizard’
window will open - select ‘VHDL Test Bench’ and enter the file name (typically
add tb_ prefix to the name of the test module).
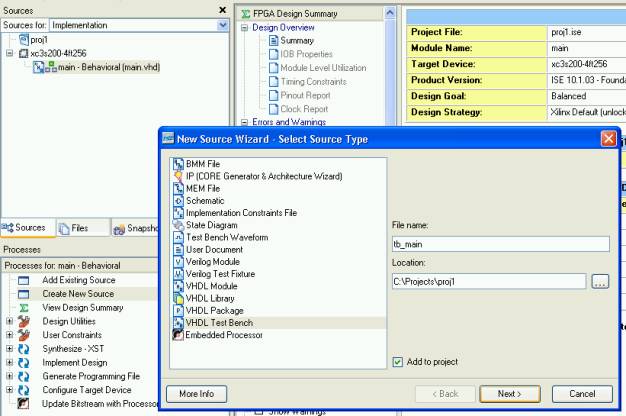
Then click ‘Next’.
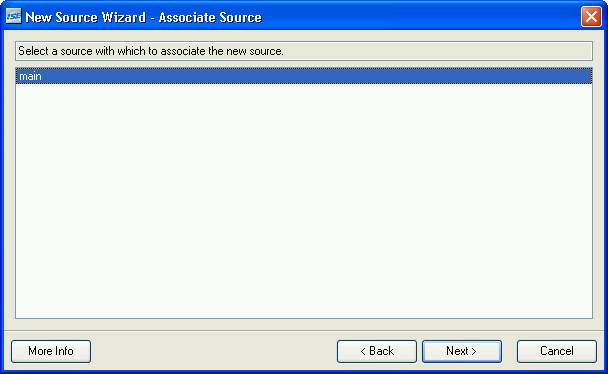
Then confirm the selection of the module which will be tested by
clicking ‘Next’.
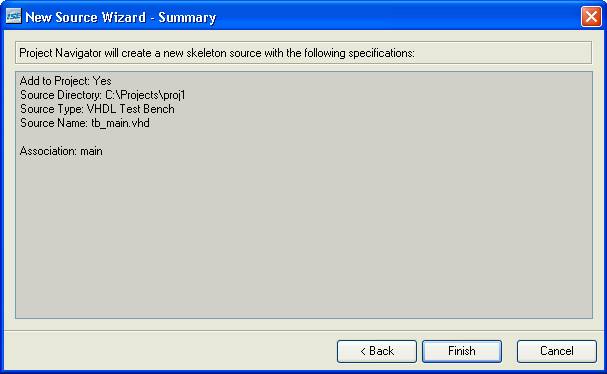
You can now click ‘Finish’.
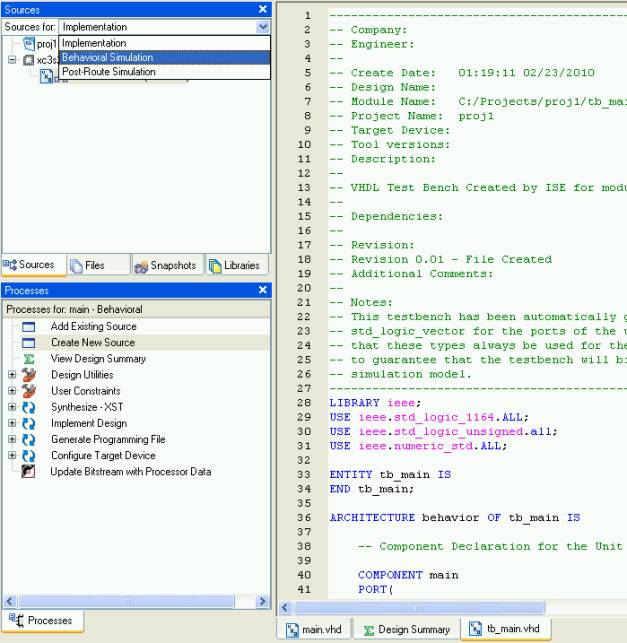
In the window on the right hand side of the screen, the automatically
generated testbench skeleton with the tested module instance (UUT) has been
opened.
Now you need to add the appropriate stimuli and you can start the
simulation.
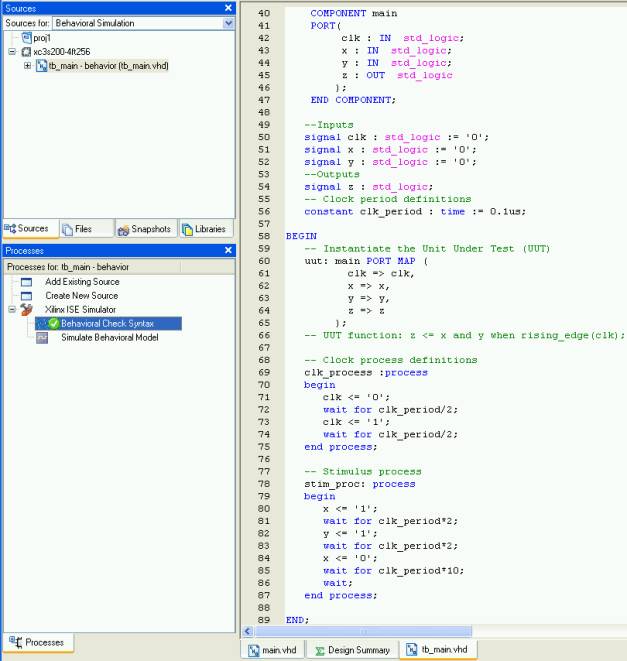
In the ‘Sources’ pane, switch to ‘Behavioral Simulation’.
Then, in the ‘Sources’ pane, select the field with the testbench file
name, and in the ‘Processes’ pane, expand the ‘Xilinx ISE Simulator’ and click
on ‘Behavioral Check Syntax’ to validate the files.
Then click on the ‘Simulate Behavioral Model’ field to run the simulation.
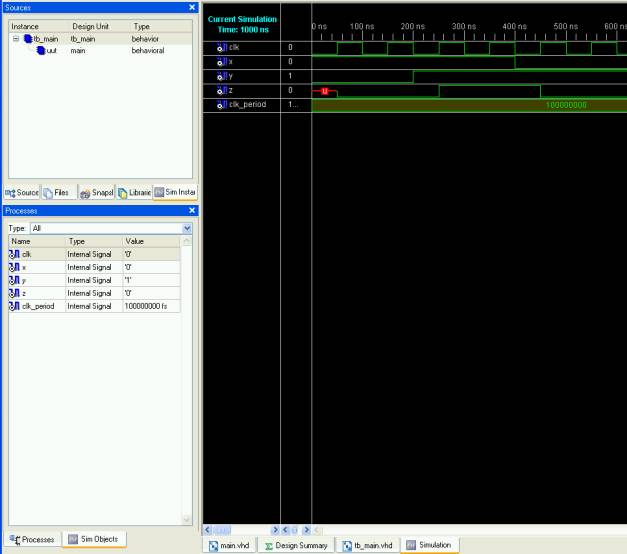
Here is the result of the simulation:
You can control the simulation using the icons:
![]()
Selecting in the ‘Sources’ pane (‘Sim Instances’ tab) the files
belonging to the simulated design, and then in the ‘Processes’ pane (the ‘Sim
Objects’ tab) the signals used in these files - you can add new signals to the
simulation. Remember to re-initialize the simulation with the following icon: ![]()
Then the waveforms of the added signals will be displayed.