Creating new project
1. Start Vivado 2018. 
Select File/Project/New. In the Create New Vivado Project window enter a Project name:
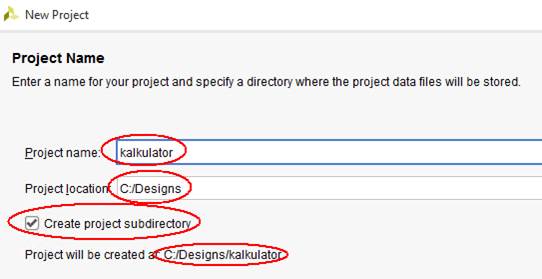
Make sure the file directory (Project location) starts with C:\Designs\.
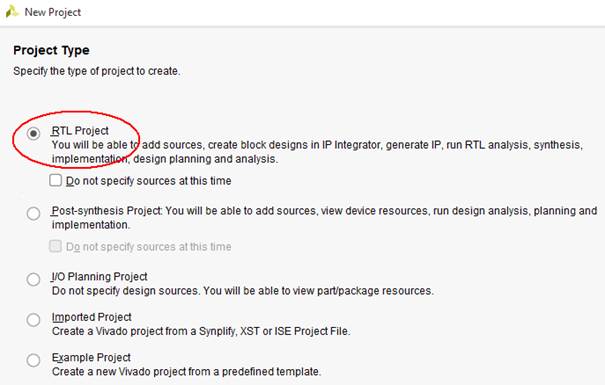
2. Set the project type to: RTL:
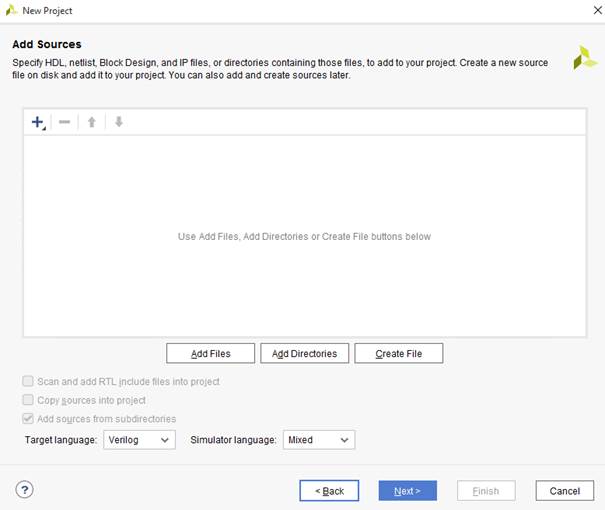
3. In the Add sources and Add constraints windows we can enter the project files. If we don't do it here, it will be very easy to do later.
4. As Default part select Boards and select the board Nexys A7–100T:
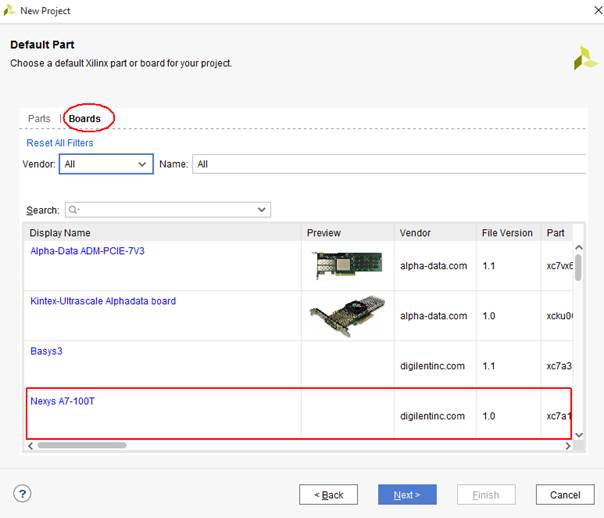
Alternatively, instead of selecting a borad, we can choose a part (Parts instead of Boards): xc7a100tcsg324-1.
5. At the end, click Finish:
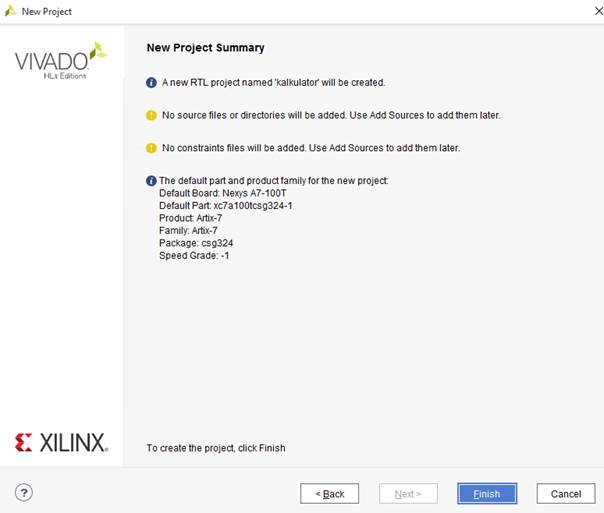
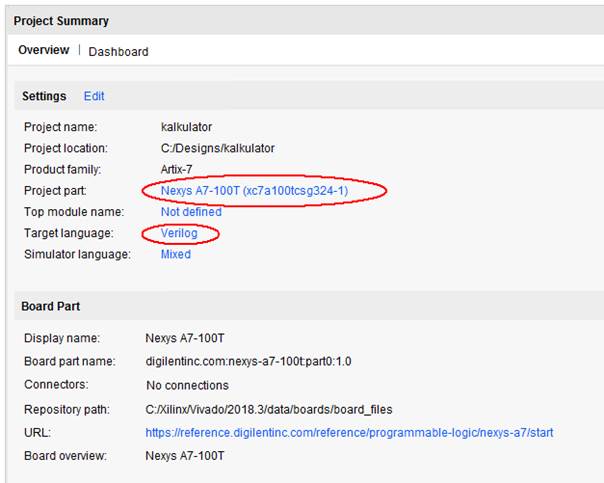
6. In the project summary, we should obtain the following data: